We’re adding a new tool group called Color Style that ships later this month as part of our Radiant Photo 1.3 update. This update is free to all customers. However, we strongly encourage you to keep your Radiant Photo Toolkit membership up to date for future updates.
The New Color Style Tools
The new group of tools is found on the Color Grade page under the Targeted Adjustment Tools. You’ll find a new group of tools called Color Style (Beta). Why beta? We’re taking feedback on the tool and have a few more controls in the works that will join this section next year.
Let’s explore each tool a bit.
Selective Color Tool
The Selective Color Tool is the perfect way to target specific colors for manipulation. Use the Eyedropper to custom target a color. You can then transform it.
- Hue – Adjust the color balance of the target color.
- Saturation – Boost or fade the color intensity.
- Luminance – Darken or lighten the affected area.
- Range – Affect more adjacent colors by increasing the value or narrowing it with a lower value.
- Feather – Create a smoother blend between the target and non-targeted areas.
Split Color Warmth
These controls are simple but incredibly powerful. The photo is divided into two zones: Warm and Cool. Each slider can be used to warm or cool each zone. Push existing warm and cool areas to emphasize their differences, effectively creating a Split Tone effect, but for color. Or you can warm up areas that are too cold to create a better color balance.
Put it All Together
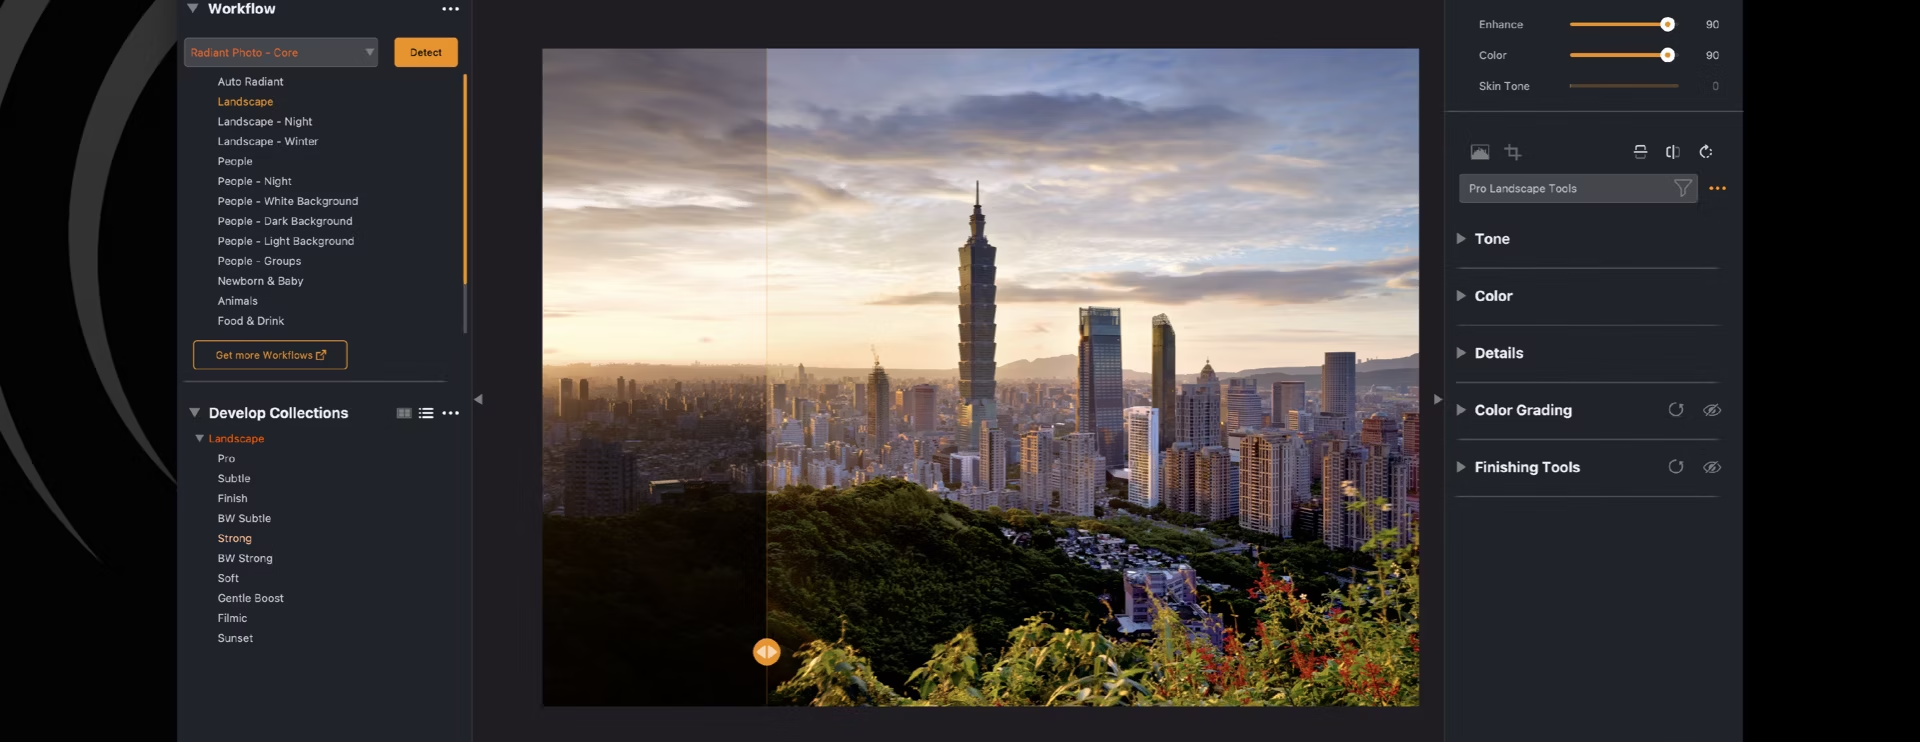
Be sure to explore the product manual and learn all about the LOOKs technology in the Color Grading tab. The Graduated Filter is perfect for shaping the light and controlling the focal point in an image. The Finishing Tools are the final pass to control the Tone and Color using familiar Develop sliders (but as a final pass on your image).
The Color Grading draws the focus clearly to the subject. The multiple tool groups in the two Color Grading tabs offer the most control of any tool designed for photographers. The control of Depth and Shadows and the subtle manipulation of targeted colors completes the transformation.
How to Put the Color Grading Tools into Action
The new Color Style tools offer the missing piece to the Radiant Photo Color Grade suite. The ability to precisely manipulate specific colors means precision control. You can better fix problem areas or manipulate them for narrative effect.
Here are a few specific examples.
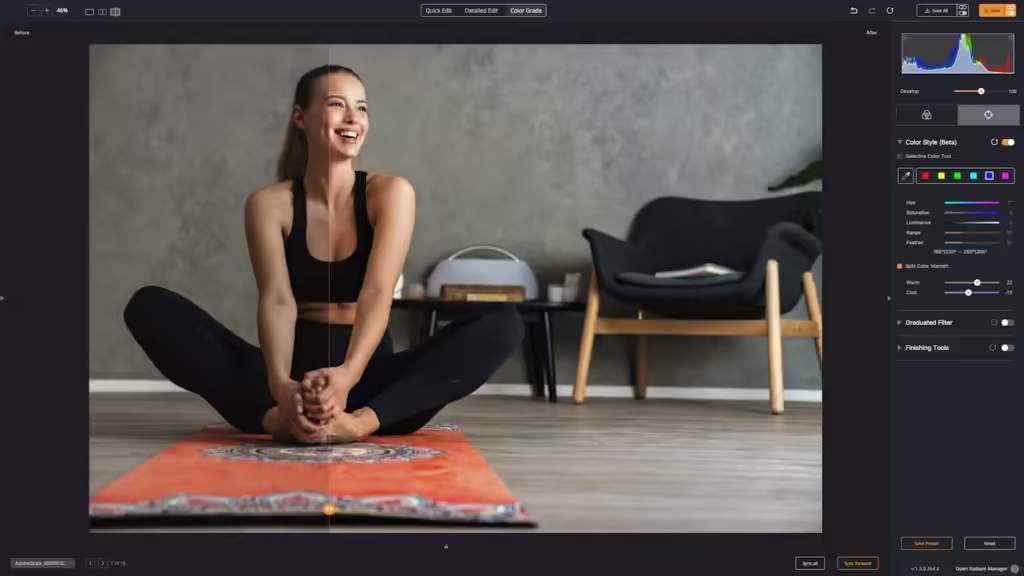
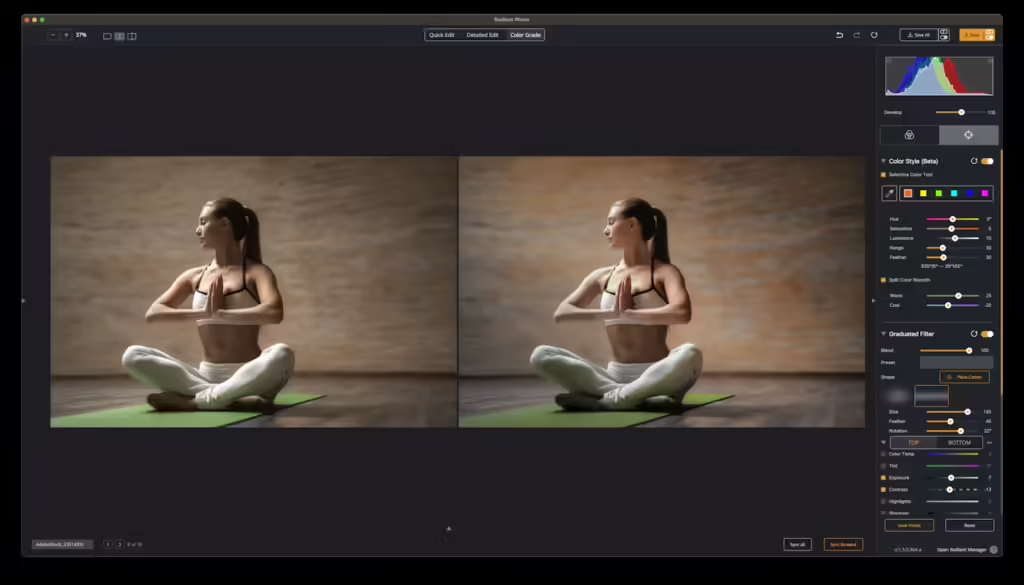
Make Subtle Changes for Mood
The Color Style tool was used in this image to grade the red pillar a bit darker. Additionally, the green turf reflected in the mirror was desaturated and darkened, distracting the focus of the photo. Also, a light vignette was made with the Graduated Filter. A digital film stock was also applied in the Color Grading tab.
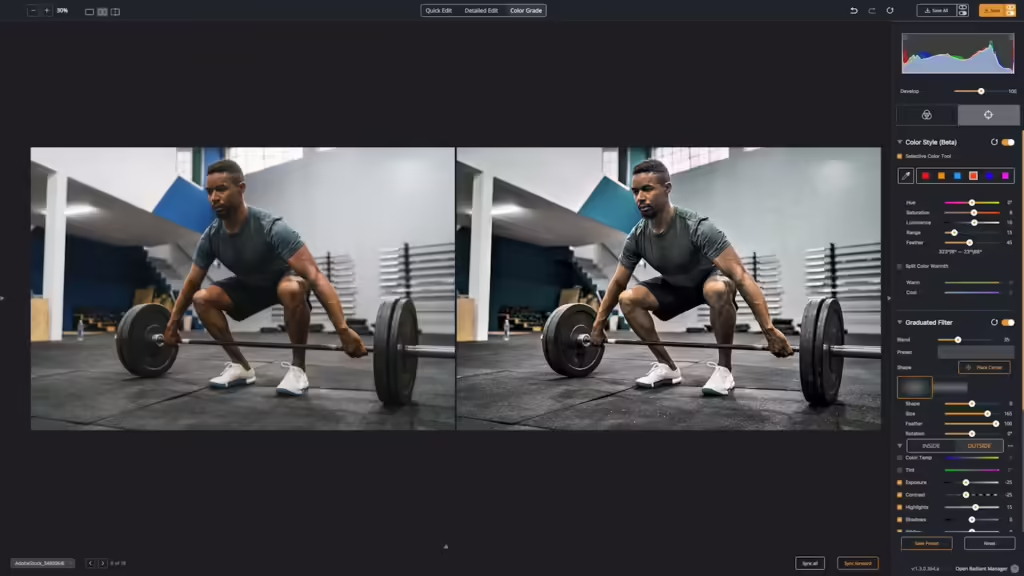
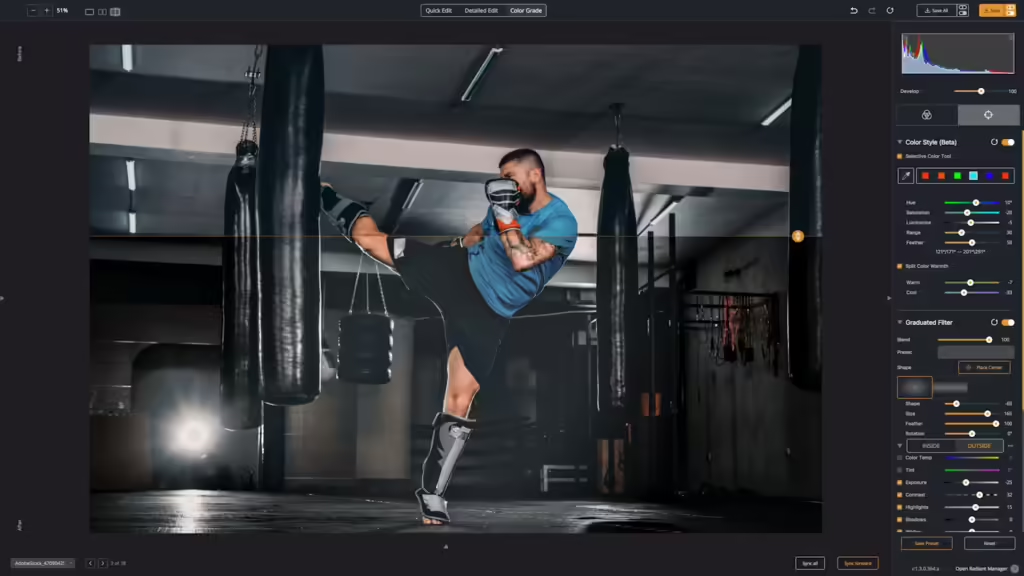
Control the Light
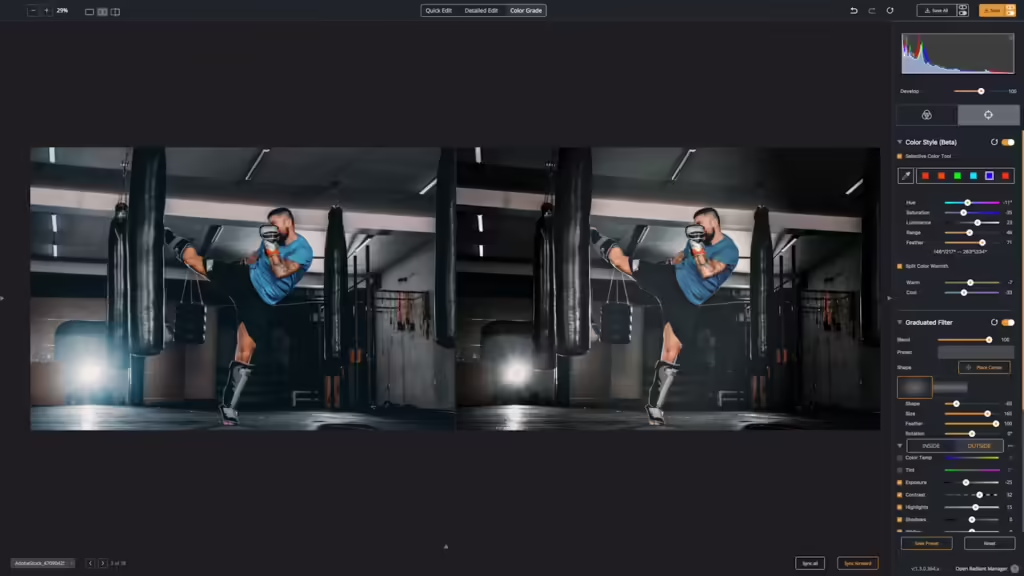
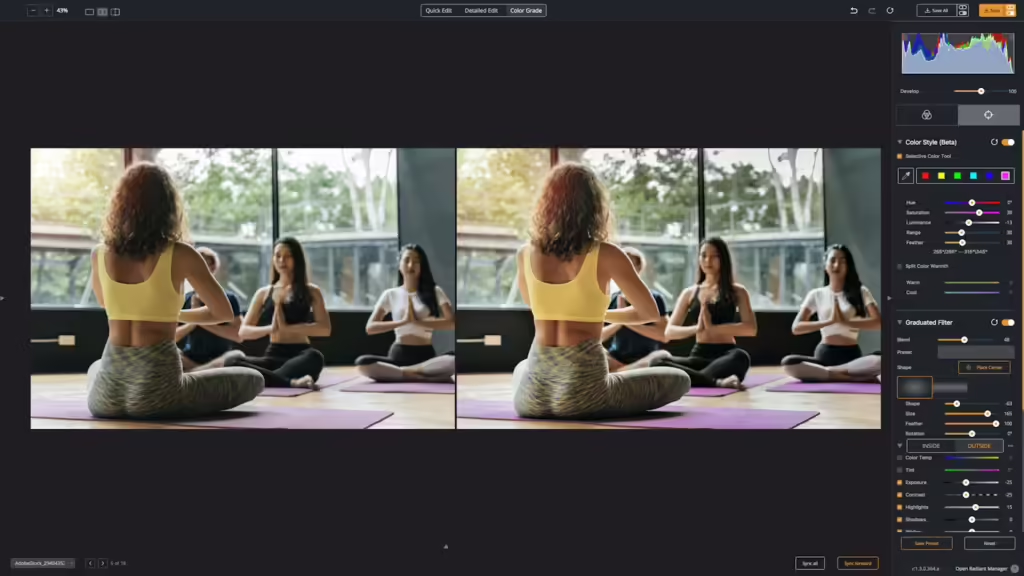
For this photo, we started with Split Color Warmth. This allows the image to have warmer warms and cooler cools – effectively a split tone based on color warmth. Additionally, specific colors like yellows, greens, and blues were targeted precisely with Color Style. Using the Graduated Filter, a slash of light was added to the image at an angle. It was perfect to enrich the shadows and add some focus to the subject.
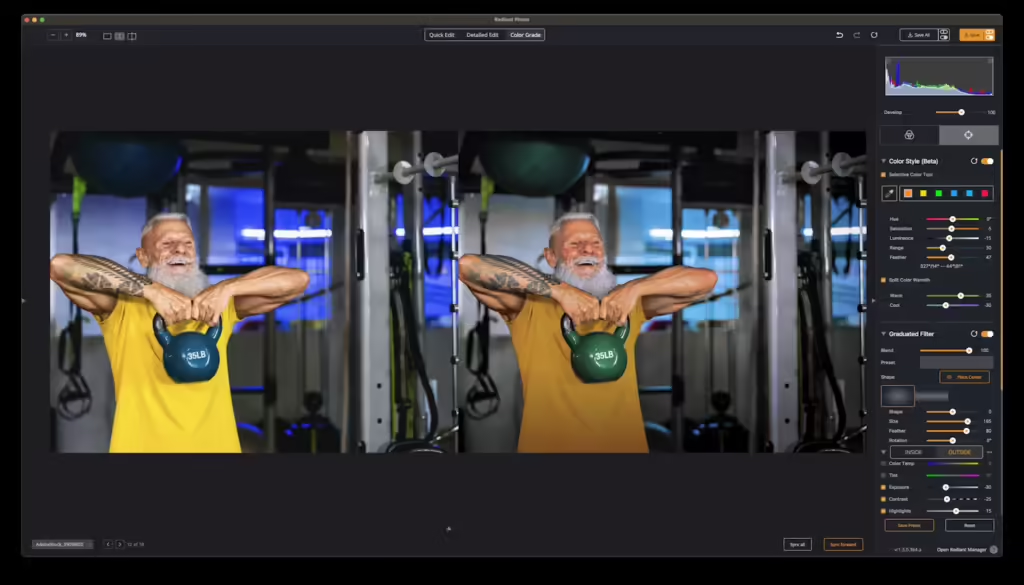
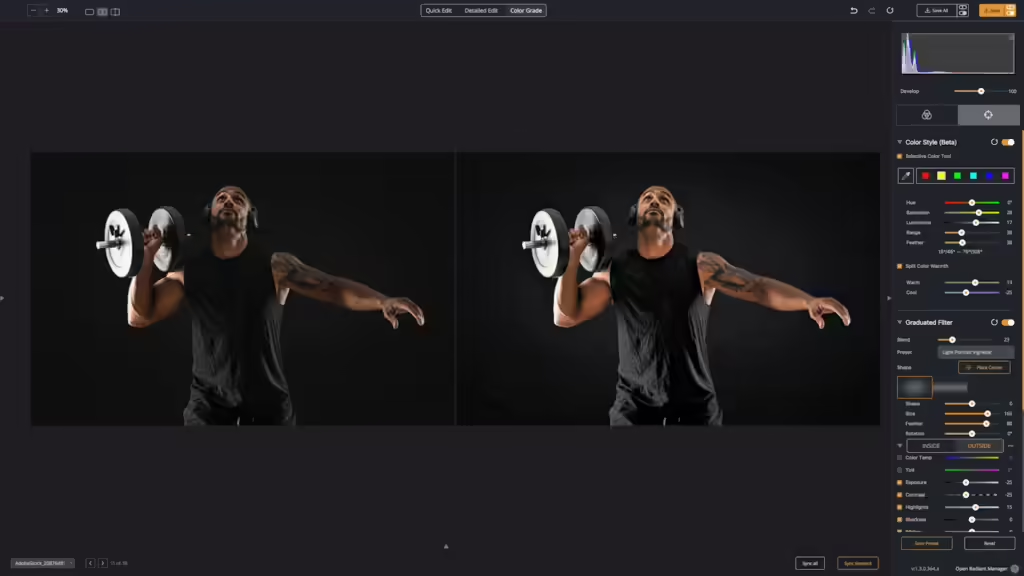
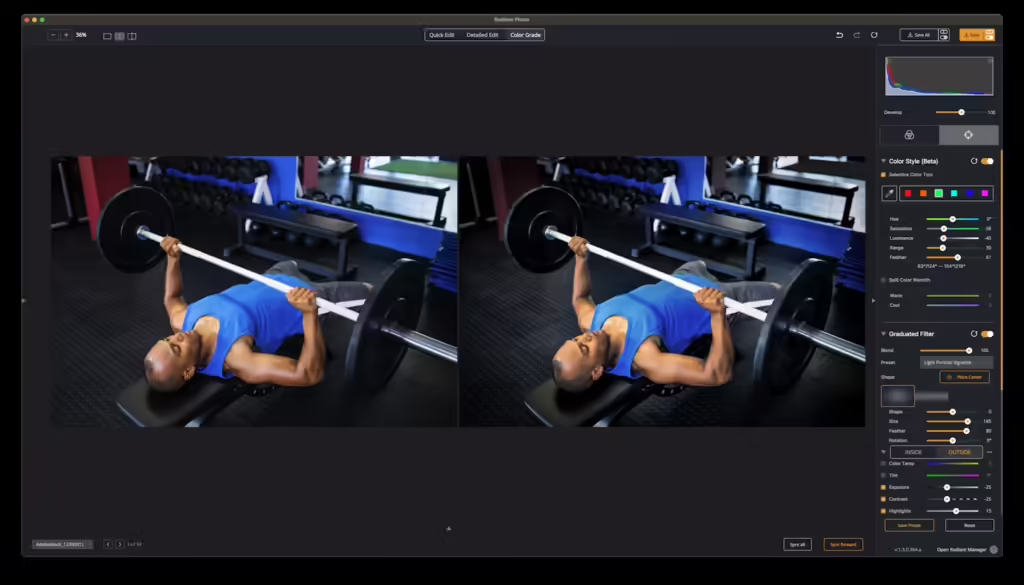
Change Colors for Balance
In this case, the Blues and Yellows dominated the attention. Shifting them allowed the shirt and kettlebell to complement the subject better. Additionally, the overly strong blue cast was adjusted. The Knocked Down color grade also assisted in balancing the scene along with a light vignette from the Graduated Filter.
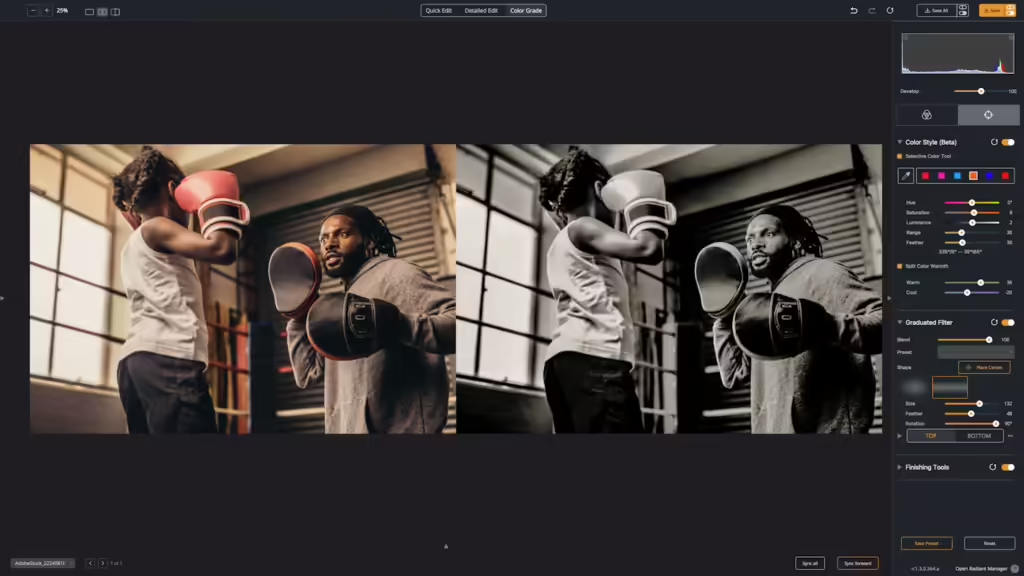
Precision Black and White Photography
While many don’t realize it… great black-and-white photography also involves color grading. In this case, the Color Style tool is used to influence the balance of reds, oranges, yellows, and blues. This worked hand-in-hand with the BW Portrait 01 look in the Color Grade section. A Graduated Filter adjustment further refined the balance of the light. The Finishing Tools were also put to work to balance the Shadows and Highlights as well as introduce a gentle sepia tone into the final photo.
Why did we make this?
We truly believe the Color Grade tab in Radiant Photo brings a whole new level of creativity to your image-making. We took our past experience with video and filmmaking and transferred a professional color grading toolset into a photo editing app.
A quick tip… open raw photos or 16-bit TIFF files to get the most control and minimize posterization of your color grading if you make aggressive edits.
What’s next?
We’re taking feedback on these new tools once Radiant Photo 1.3 ships. We’re almost ready to go. We’re in the final Quality Control pass of testing and have sent off for localization of the new tools to different languages.
Once the tools ship, we’ll launch a Beta area where you can post feedback on the new tools. We want to see what works and what doesn’t. We believe it’s 100% ready for use, but we want to make sure that the choice of how the tools are labeled and controlled is perfect. We also have a few more controls in the works that will join the Color Style tool.
We hope you find these expanded tools even more fun to use.