We’re adding a new tool group called Portrait that ships later this month as part of our Radiant Photo 1.3 update. This update is free to all customers. However, we strongly encourage you to keep your Radiant Photo Toolkit membership up to date for future updates. If you’ve pored through the product manual, you might be confused, as we had a group called that in the past. Let’s explain the change.
The New Portrait Tools
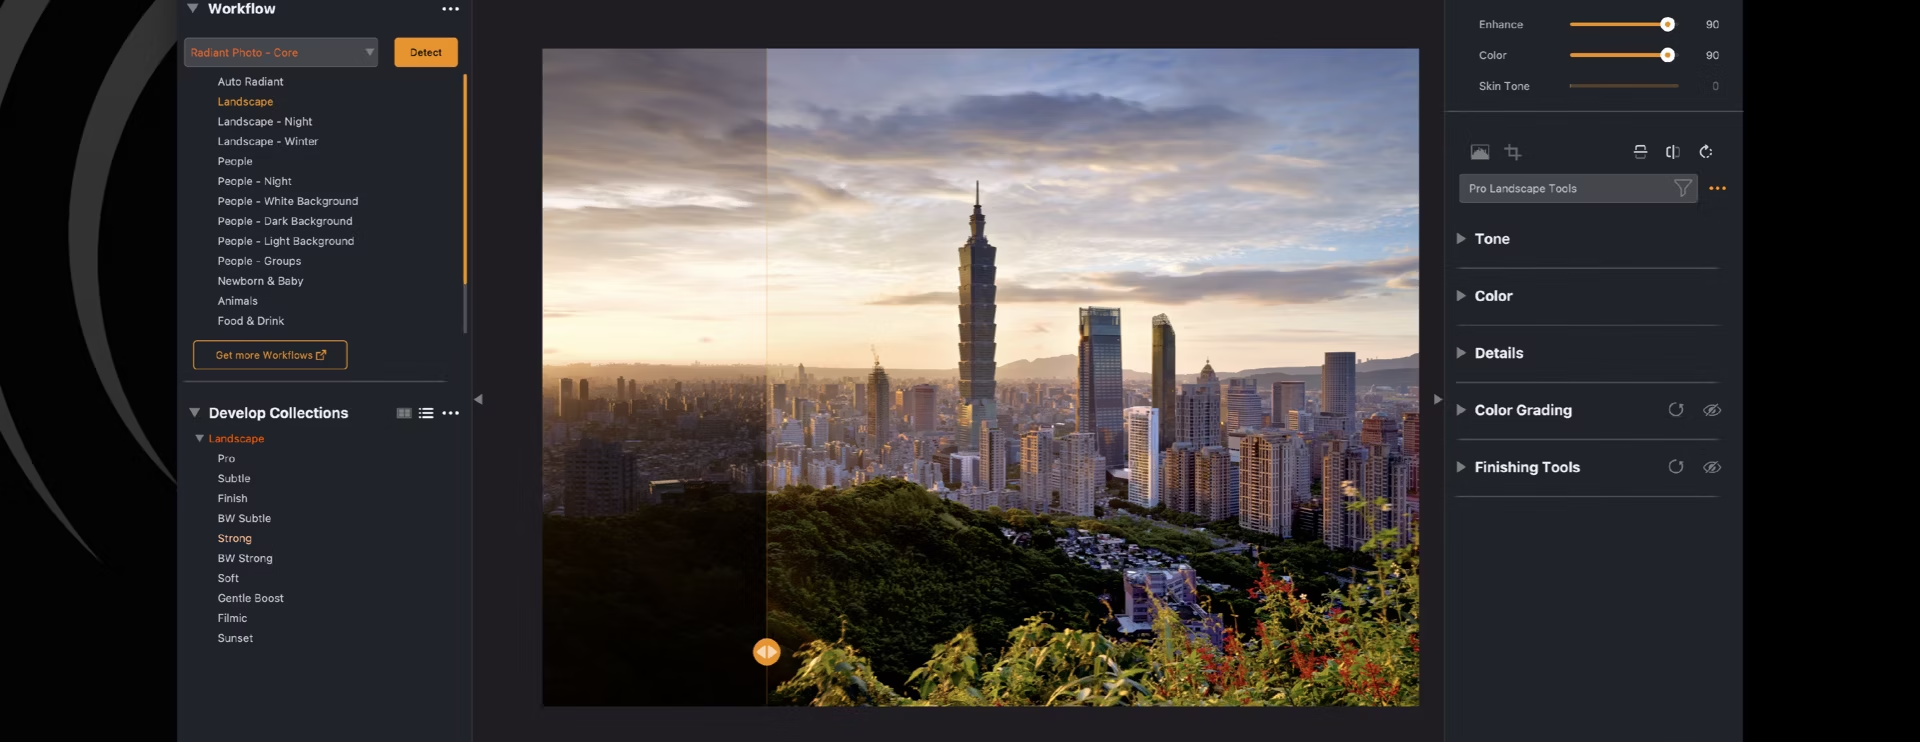
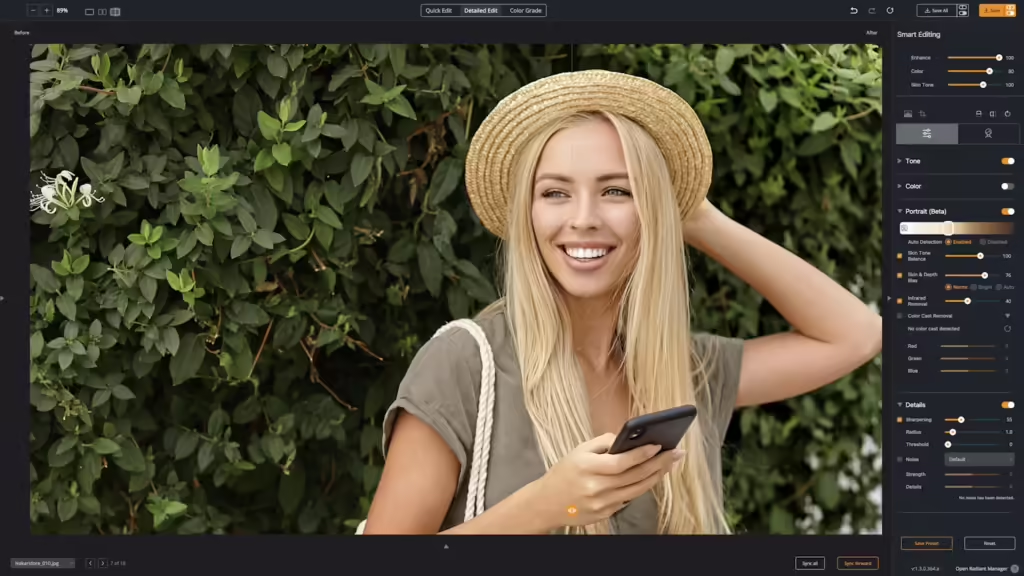
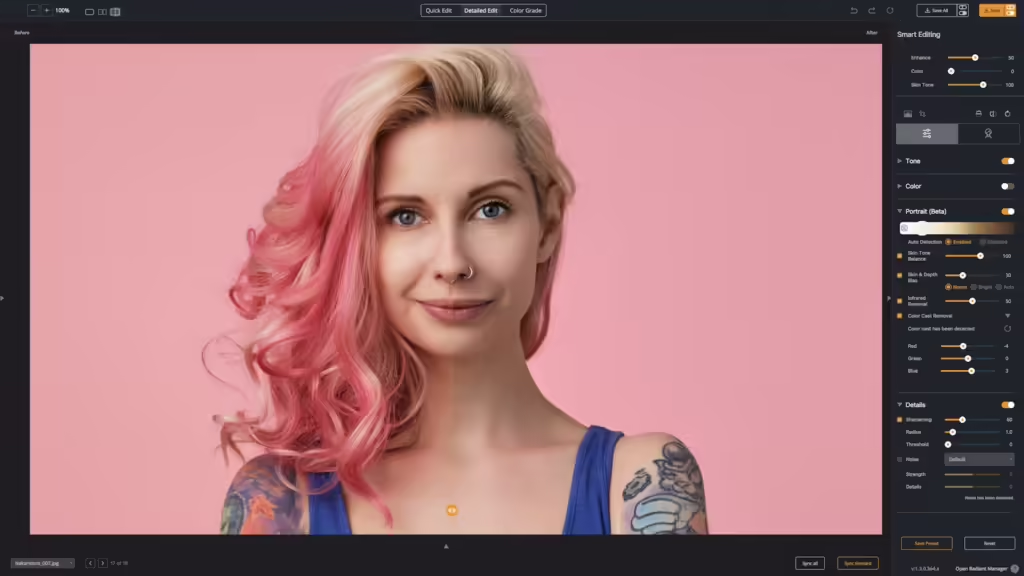
The new group of tools is found on the main Detailed Edit page. You’ll find the controls just after the Color section. The group is currently labeled Portrait (Beta). Why beta? We’re taking feedback on the tool and have one more tool in the works that will join this section next year.
Let’s explore each tool a bit.
Skin Tone detection
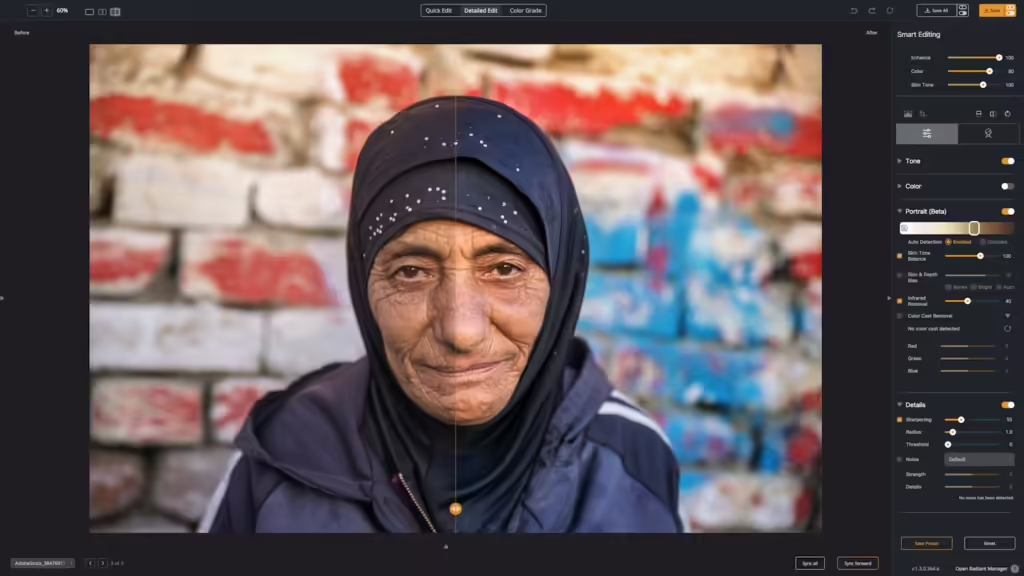
Radiant Photo now analyzes each portrait and detects the skin tone of the primary subject. The skin tones are recognized using a sliding scale that ranges from light to dark to devise the perfect recipe to balance the lighting in a scene to make it perfect for each subject.
You can use the Automatic matching of the AI or manually assign a skin tone that you prefer. When creating a preset for batching, we suggest the Auto method, but as we believe that you should always have complete control, manual selection is quite easy.

Skin Tone detection
Radiant Photo now analyzes each portrait and detects the skin tone of the primary subject. The skin tones are recognized using a sliding scale that ranges from light to dark to devise the perfect recipe to balance the lighting in a scene to make it perfect for each subject.
You can use the Automatic matching of the AI or manually assign a skin tone that you prefer. When creating a preset for batching, we suggest the Auto method, but as we believe that you should always have complete control, manual selection is quite easy.
Skin Tone Balance
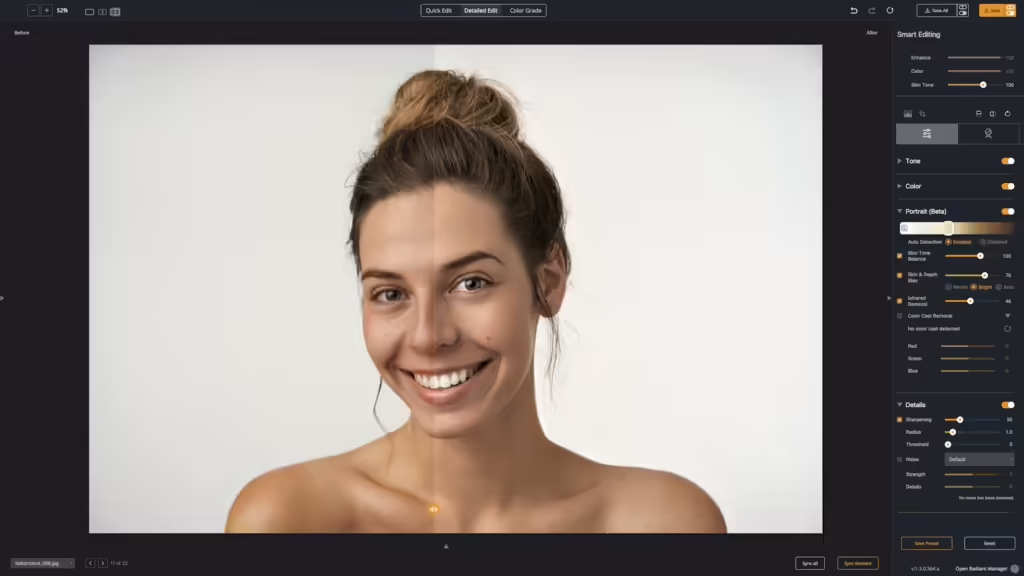
The accurate capture of skin tones is critical when creating a beautiful image. It’s also incredibly hard to do with environmental factors, mixed lighting, and camera technology. That’s why we brought together Machine Learning engineers, scientists, AI specialists, and top photographers. The result is the all-new Skin Tone Balance slider.
To be clear, this slider does not just change the Skin. Instead, it perfectly balances the scene’s light, color, and depth to create the best lighting for a subject. Skin tones are accurate and natural—the perfect balance of warmth and accuracy.
While the effects are often subtle, they are the tipping point to create a natural-looking portrait that resonates better. An unbalanced portrait can feel off when you look at it.
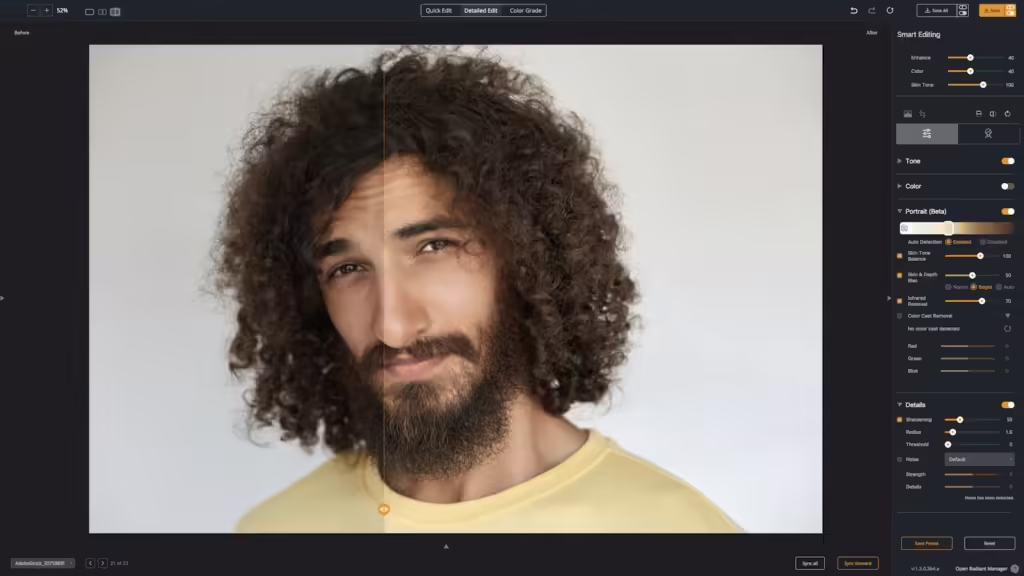
Skin & Depth Bias
The Skin & Depth Bias control helps repair many of the exposure flaws created by digital cameras. It also adds additional control to adjust how much depth you would like in your photos.
- Normal – The default setting removes red from skin tones and adds depth to the background areas.
- Bright – Offers the same impact as “Normal” preference, but with a brighter image with more details in the shadows.
- Auto – This smart setting will enable the Skin and Depth bias when it determines this correction is necessary. This option works best for presets.
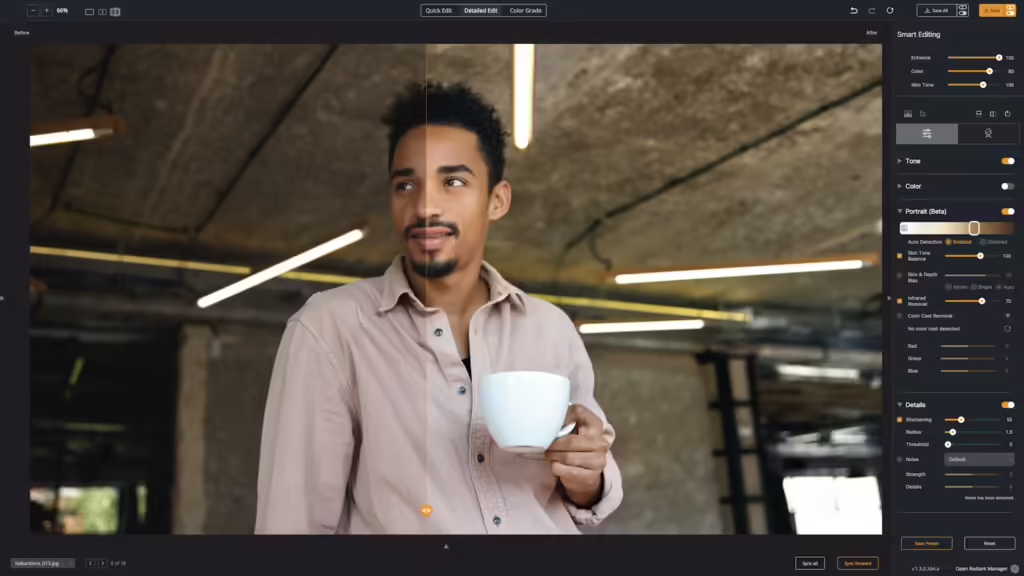
Infrared Removal
Digital cameras capture more infrared light than the human eye does. As a result, people in photos often appear redder than the subject really was. This is especially true for indoor photos when taken with a flash. The Skin Tone correction will automatically detect and remove the spurious IR from flesh tones while maintaining the proper reds in the other portion of the photo.
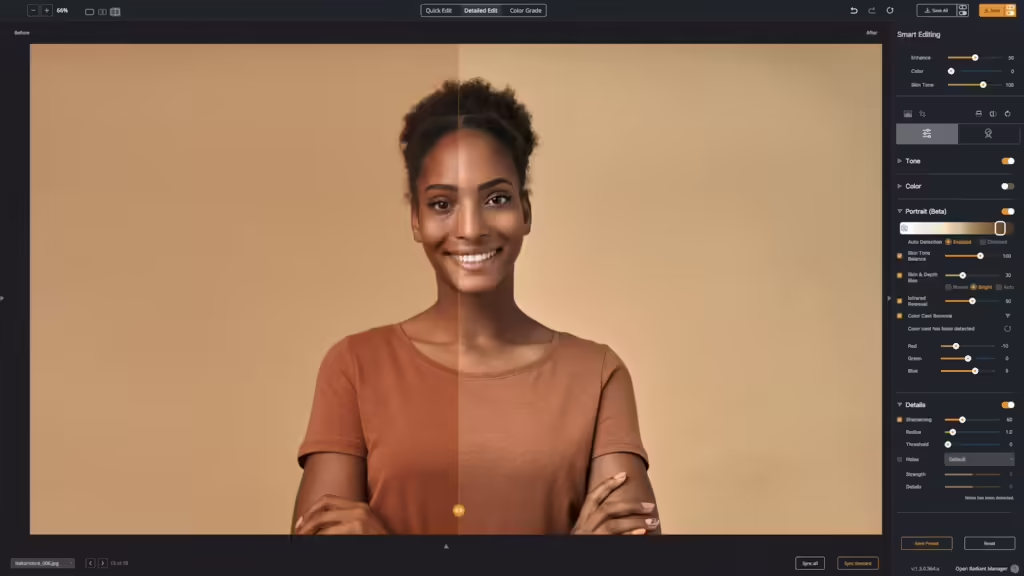
Color Cast Removal
There is often a color spill when you shoot on a solid color or dark background, especially in a studio setting. Whether it’s the reflection of the artificial light or spill from the background itself, there is often an unwanted transfer of color.
In our Dark Backgrounds Smart Preset, you’ll find that the Color Cast Removal tool unlocks. You’ll see that an automatic White Balance is calculated to balance out the color spill. You can use the automatically generated values or tweak them to taste.
In our app, a Dark Background means
- Black backdrops
- Dark gray and Middle gray backdrops
- Solid color and gradient backdrops with rich color
- Green or Blue Screens used in keying
You are free to manually choose the Dark Background Smart Preset if you want to force enable this tool. It’s perfect for accurate color correction with automatic white balance for portraits taken on dark backgrounds and greenscreen.
Why did we make this?
For us, photographs are the records of our lives. It is so very important that everyone looks their best. Skin tones are a critical part of this. Working closely with the great team at Perfectly Clear, we wanted to ensure beautiful natural skin for all people.
What’s next?
We’re taking feedback on these tools once Radiant Photo 1.3 ships. We’re almost ready to go. We’re in the final Quality Control pass of testing and have sent off for localization of the new tools to different languages.
Once the tools ship, we’ll launch a Beta area where you can post feedback on the new tools. We want to see what works and what doesn’t. We believe it’s 100% ready for use, but we want to make sure that the choice of how the tools are labeled and controlled is perfect. The photo industry has a long history of not getting things like this “right.” For us… this really matters.
Our mission is to make every photo its absolute best.
This also means showing every person in their true and natural beauty without overly retouching or altering the subject. We hope you agree.