
It’s time to update. We just shipped version 1.3.
Keep reading to learn how to update.
The New Color Style Tools
Thank you for being a Radiant Photo user. We truly appreciate your passion for the product and your feedback. This is actually two updates in one (we’ve been working on this one a long time). We strive to provide high-quality software and closely look at the bugs and feature requests we receive through our tech support team.
- Radiant Photo 1.3 is a free update for all users.
- We strongly encourage you to keep your Radiant Photo Toolkit membership up to date for future updates.
New Smart Presets & Preset Group
The easiest way to develop your photos is with Smart Presets. These adjustments combine the power of AI scene detection, which analyzes the content of a photo, with Smart Editing tools and additional editing settings.
The list of Smart Presets has grown to 16 to cover different scenes. The new additions are:
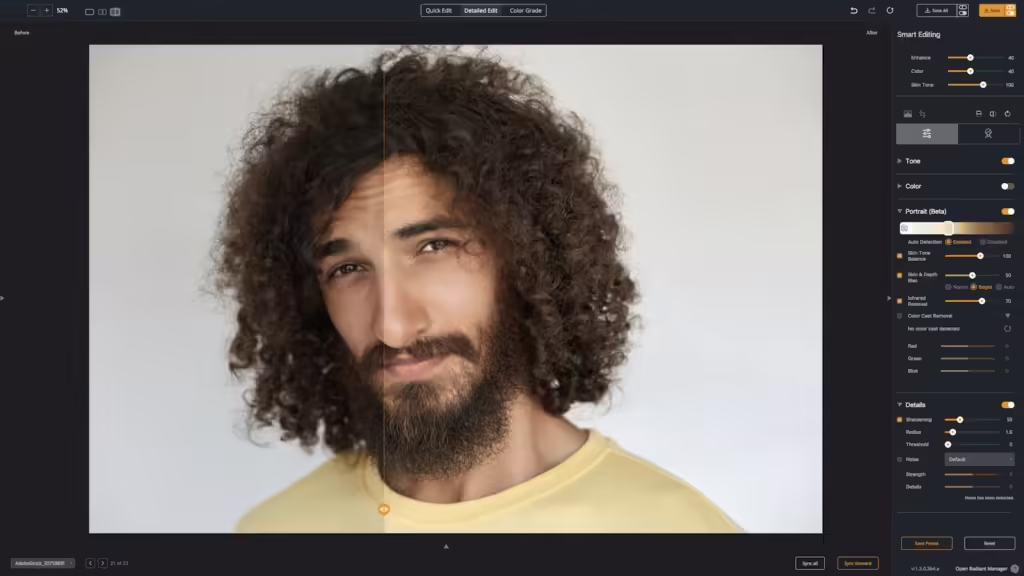
- People – Dark Background – Designed for portraits shot against medium to dark backgrounds, mostly for studio photography sessions.
- People – Light Background – Designed for portraits shot against lighter (but not white) backgrounds, mostly for studio photography sessions.
- People – Groups – Designed for shots with multiple people and different skin types.

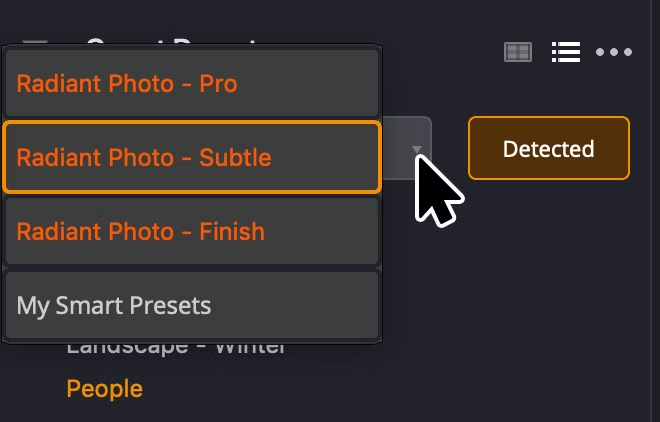
We’ve also added a new Smart Preset Group – Radiant Photo – Finish. It’s perfect for a very light edit on your images and produces great results when you run Radiant Photo at the end of your image editing pipeline.
Remember, there are also the My Smart Presets groups. These are the ones you can customize. You’ll need to save a copy of the new Smart Preset into that group (we didn’t want to touch your existing settings). Learn more here.
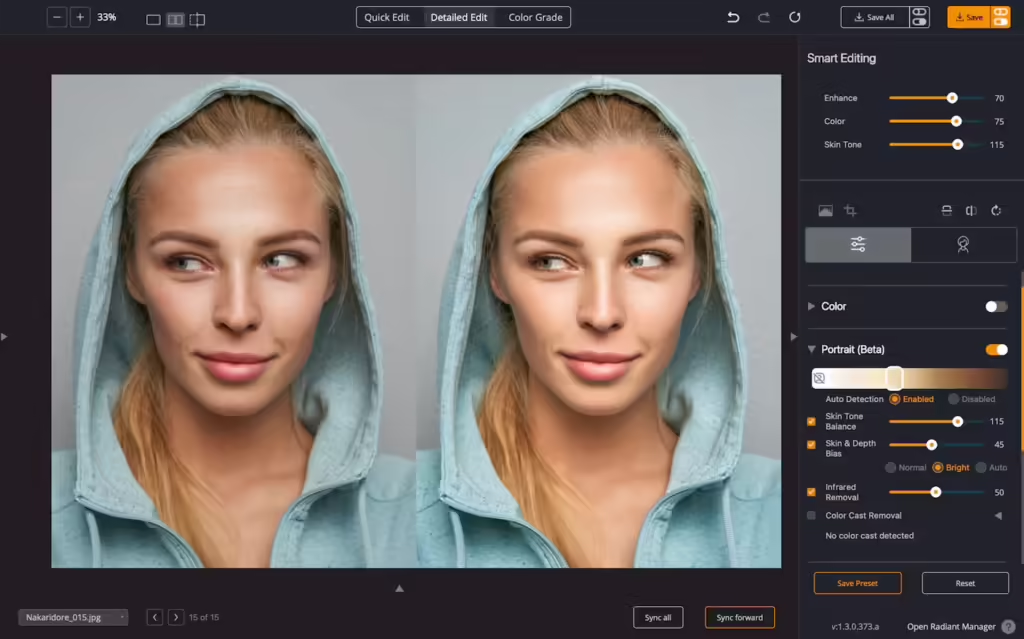
Portrait Tools Group
The new group of tools is found on the main Detailed Edit page. You’ll find the controls just after the Color section. The group is currently labeled Portrait (Beta). Why beta? We’re taking feedback on the new tools and have one more tool in the works that will join this section next year.

Skin Tone detection
Radiant Photo now analyzes each portrait and detects the skin tone of the primary subject. The skin tones are recognized using a sliding scale that ranges from light to dark to devise the perfect recipe to balance the lighting in a scene to make it perfect for each subject.
Skin Tone Balance
The accurate capture of skin tones is critical when creating a beautiful image. It’s also incredibly hard to do with environmental factors, mixed lighting, and camera technology. The all-new Skin Tone Balance slider perfectly balances the scene’s light and color in order to create the best lighting for a subject. This creates a natural and accurate representation of skin tones.
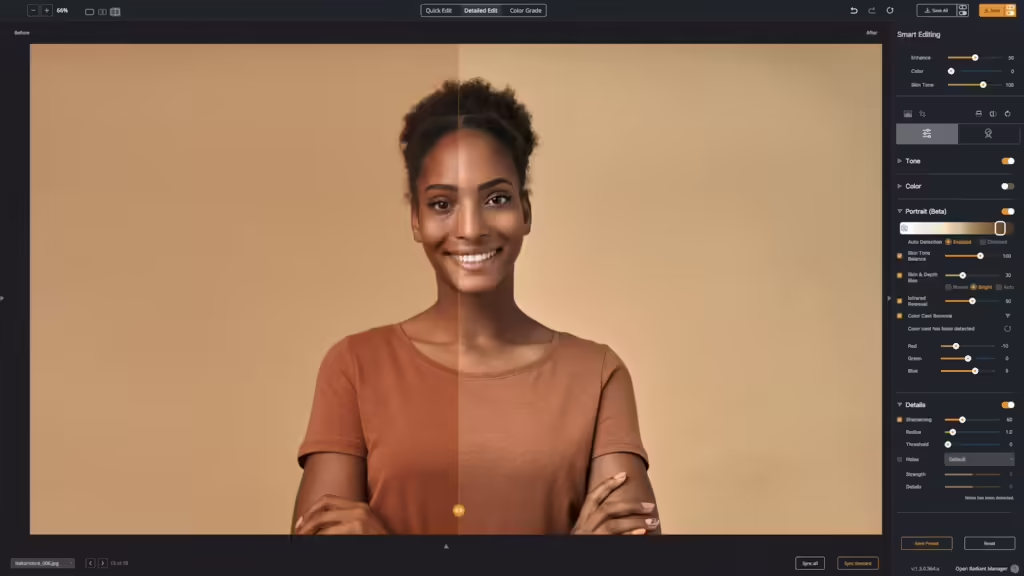
Color Cast Removal
There is often a color spill when you shoot on a solid color or dark background, especially in a studio setting. Whether it’s the reflection of the artificial light or spill from the background, there is often an unwanted transfer of color.
In our People – Dark Background Smart Preset, you’ll find that the Color Cast Removal tool unlocks. You’ll see that an automatic White Balance is calculated to balance out the color spill. You can use the automatically generated values or tweak them to taste.
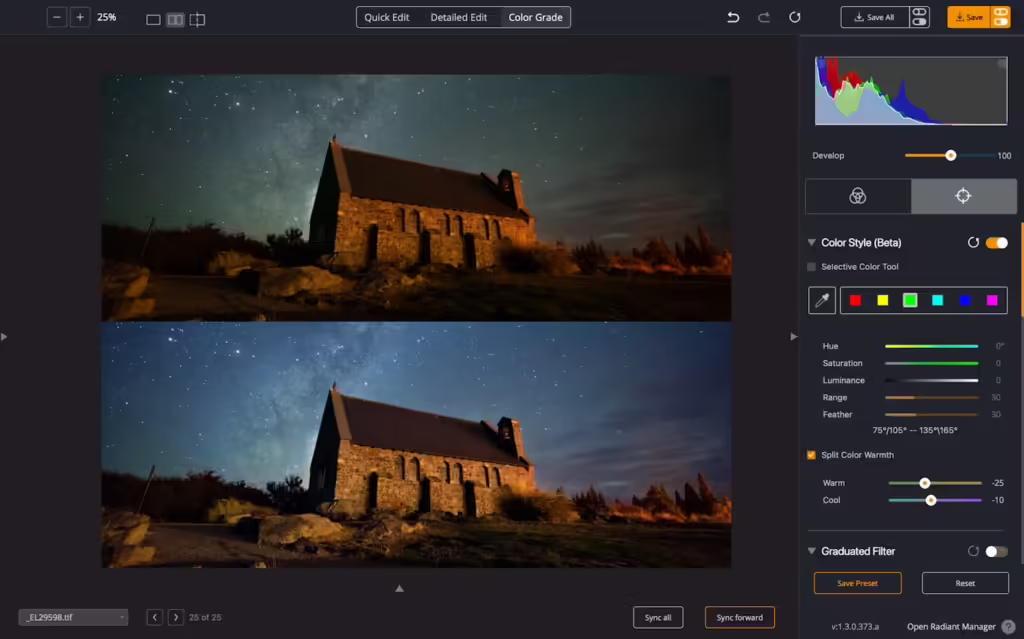
Color Style Tools Group
The new group of tools is found on the Color Grade page under the Targeted Adjustment Tools. You’ll find a new group of tools called Color Style (Beta). Why beta? We’re taking feedback on the tools and have a few more controls in the works that will join this section next year.
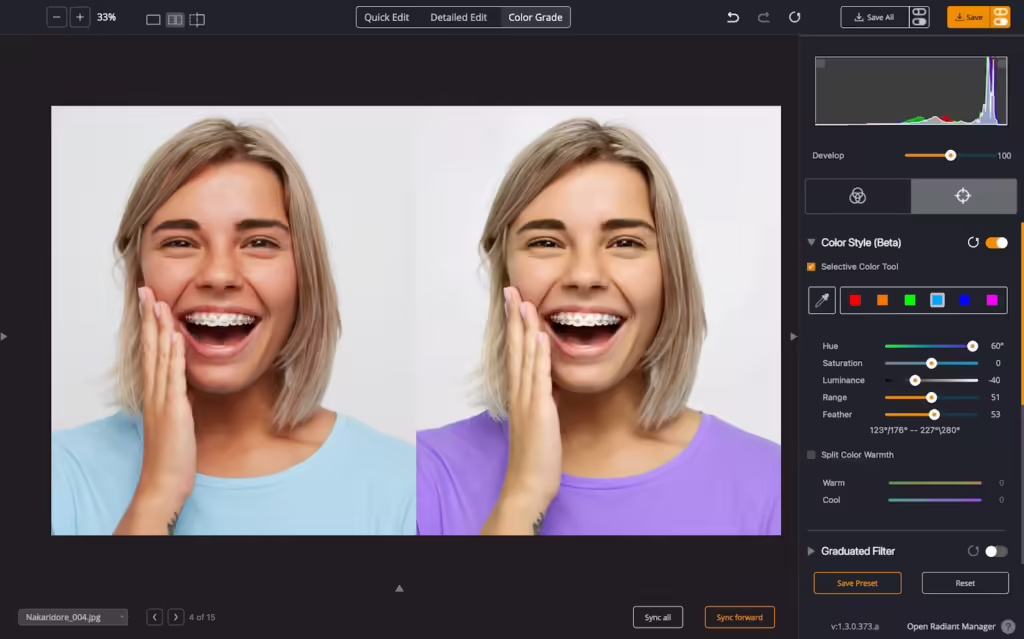

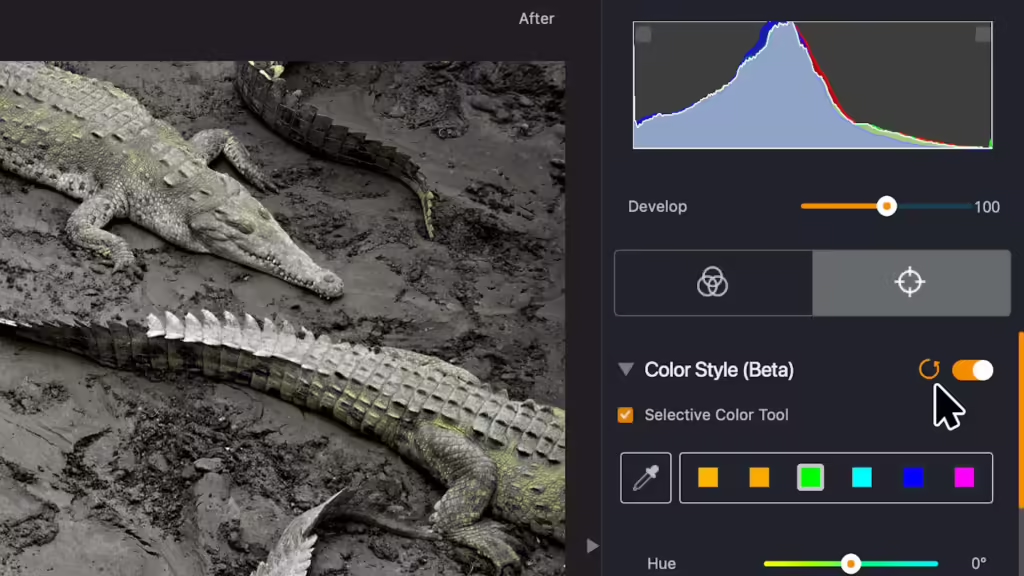
Selective Color Tool
The Selective Color Tool is the perfect way to target specific colors for manipulation. Use the Eyedropper to custom target a color. You can then transform it.
- Hue – Adjust the color balance of the target color.
- Saturation – Boost or fade the color intensity.
- Luminance – Darken or lighten the affected area.
- Range – Affect more adjacent colors by increasing or narrowing the range with a lower value.
- Feather – Create a smoother blend between the target and non-targeted areas.
Split Color Warmth
These controls are simple but incredibly powerful. The photo is divided into two zones: Warm and Cool. Each slider can be used to warm or cool each zone.
Push existing warm and cool areas to emphasize their differences, effectively creating a Split Tone effect, but for color. Or you can warm up areas that are too cold to create a better color balance.

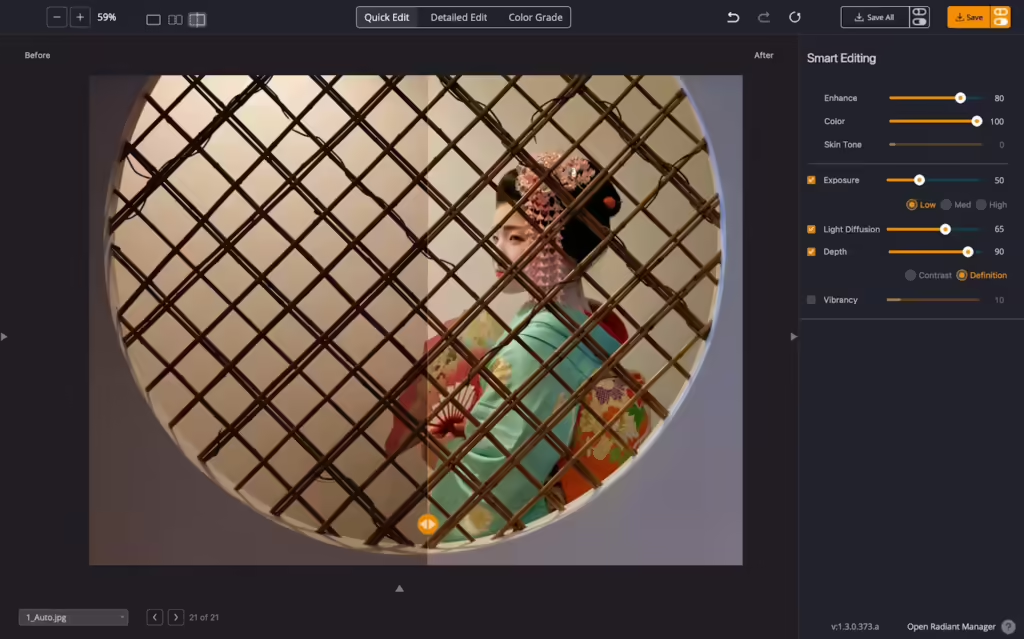
Updated Smart Editing Sliders
The core adjustments are first made with the Smart Editing tools. Each image is automatically enhanced based on the experience of the Perfectly Clear imaging engine (which processes more than 50 billion photos every year). Thanks to a custom deep learning system that’s been trained with professional photo edits, your images can look instantly better.
- Enhance – The Enhance control affects the tone and contrast of the image. It can handle tasks like highlight recovery and backlit photos. It can also improve the clarity and sharpness of a photo.
- Color – Use this slider for the color aspects. The Color slider can affect color vibrancy as well as tint correction. It works on skies and foliage as well. This slider affects the overall color of an image, and you can use the additional Color controls in the editing section for refined control.
- Skin Tone – This control becomes enabled when working with photos recognized as containing people. It makes specific adjustments to balance skin tones with the environment and lighting.
Usability Improvements
We’ve made some adjustments to the tools and view controls to make working in Radiant Photo more enjoyable.

Reset Buttons on Creative Tools
You’ll find an easy reset button on the creative tools. This includes all the groups in the Color Grade tab. The tools are taken back to their default values with just a click. Be sure to explore these fun tools for a refined look.
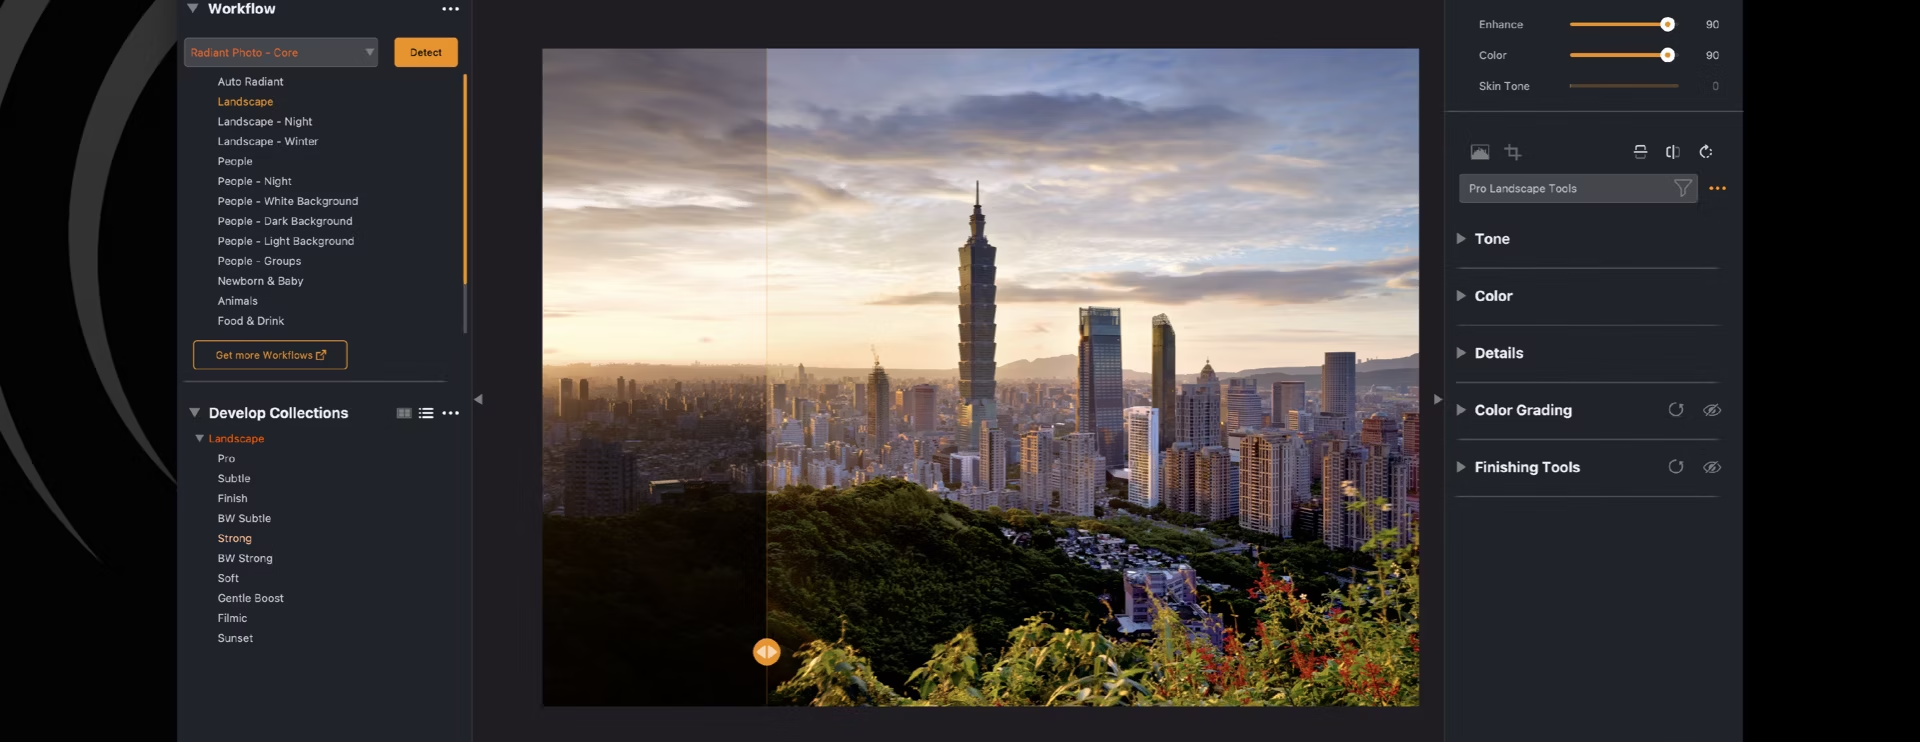
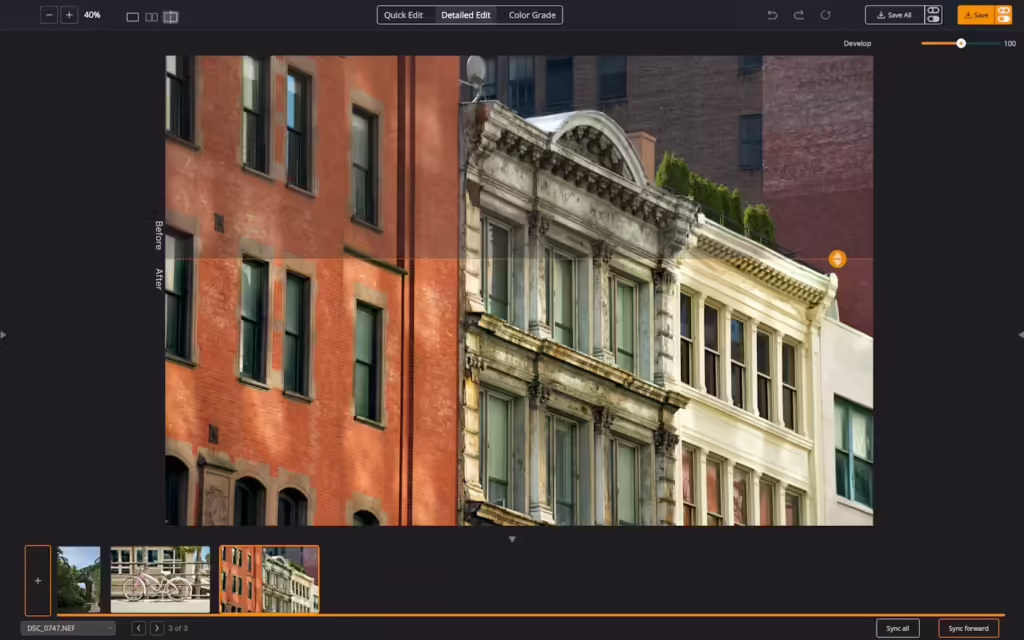
Image Compare View improvements
We felt it should be easier to compare your before and after images. So, we made some new views (click the buttons to toggle between them). Clicking a button a second time will toggle the style between horizontal and vertical.

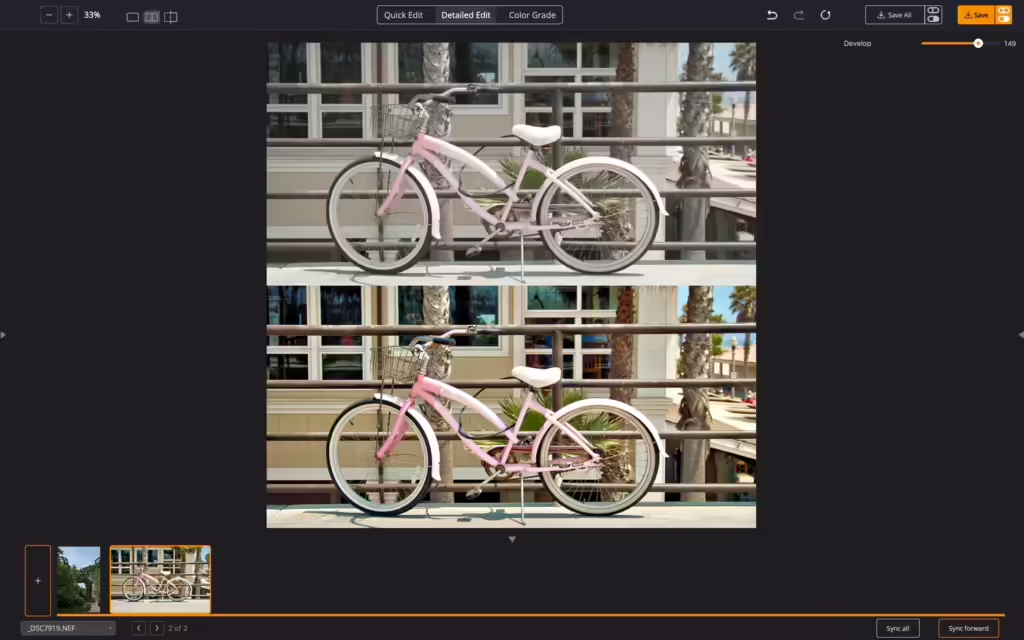
You can also change the orientation of the Split screen slider. And we labeled the Before and Afters to make things clearer.
You can use these keyboard shortcuts to switch views. Pressing the same shortcut a second time in a row will toggle between horizontal and vertical mode.
- Loupe View – Option+1/Alt+1
- Before/After View – Option+2/Alt+2
- Split View – Option+3/Alt+3

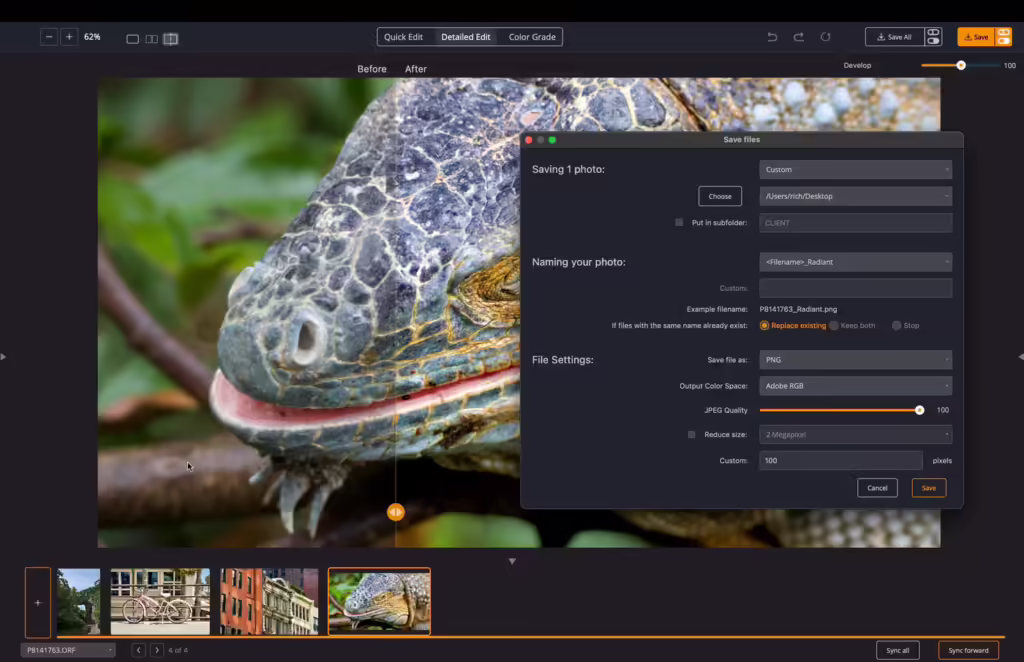
Improved Save Buttons
Want to configure your settings for a Save or a Batch? Just click the right side of the button. Want a fast save? Click the left side, and you can just use the same settings as your previous export.
You may be asked to choose current settings the first time you click either side.
Performance Improvements
These changes were made based on requests submitted to our support team.
- We fixed a case where Photoshop floating windows could appear in front of Radiant Photo when run as a plugin.
- We fixed an issue that could interfere with the Photoshop plugin correctly detecting the scene for use with the Smart Presets.
- We now correctly prevent you from switching between the Photoshop plugin and active window in Photoshop unless you apply the filter or cancel.
- Using the Crop tools when running the Radiant Photo plugin with Lightroom Classic is now possible.
- We fixed an issue with the Graduated Filter tool, which was broken in the split screen view.
- User-created presets can now be dragged and dropped between any custom preset groups.
- Improved how color swatches show in the Retouching tools. These are used with Foundation Color and Blush Color controls.
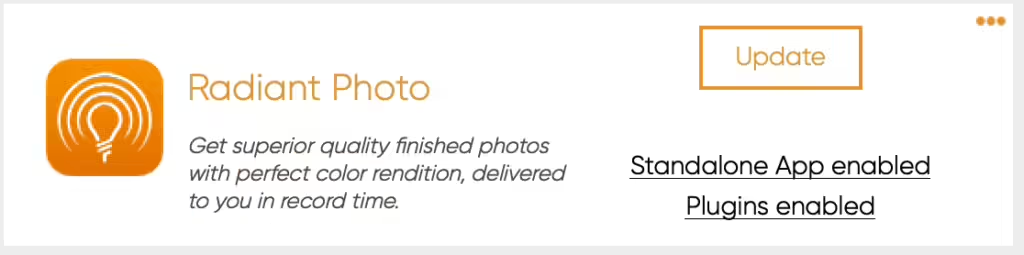
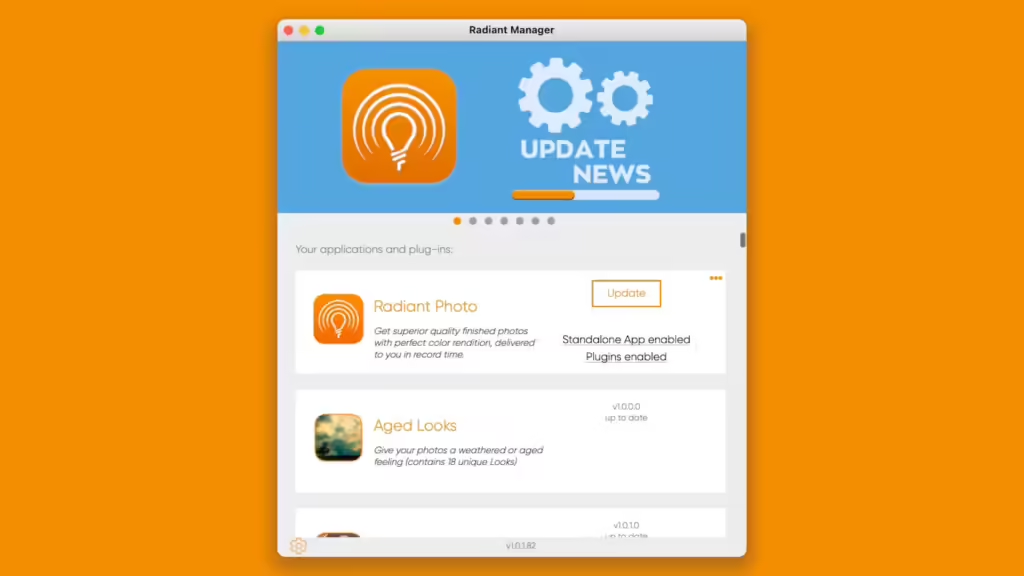
How to update
Thanks again for using Radiant Photo. You can learn how to upgrade by checking out this article on the Radiant Manager.
- When you launch the application, it should prompt you for an update.
- Be sure any host applications like Photoshop or Lightroom Classic are closed when you run the update.
- Here are additional instructions on how to update if needed – https://manual.radiantimaginglabs.com/1/en/topic/keeping-radiant-photo-up-to-date.